Starlink Gen 3 Roof Rack Mount: Power Supply & Router Brackets
$44.64
-
DetailsProduct Description:
This mount has been seriously road tested all over Australia. It has seen all sorts of weather, (including cyclone Alfred last week!) temperatures and physically challenging road conditions and held up great 20,000+km so far!
We stand by our product and offer a replacement guarantee for 2 years after purchase (see below for details).
Key Features and Benefits:
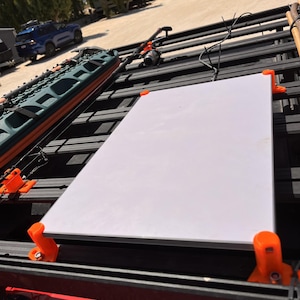
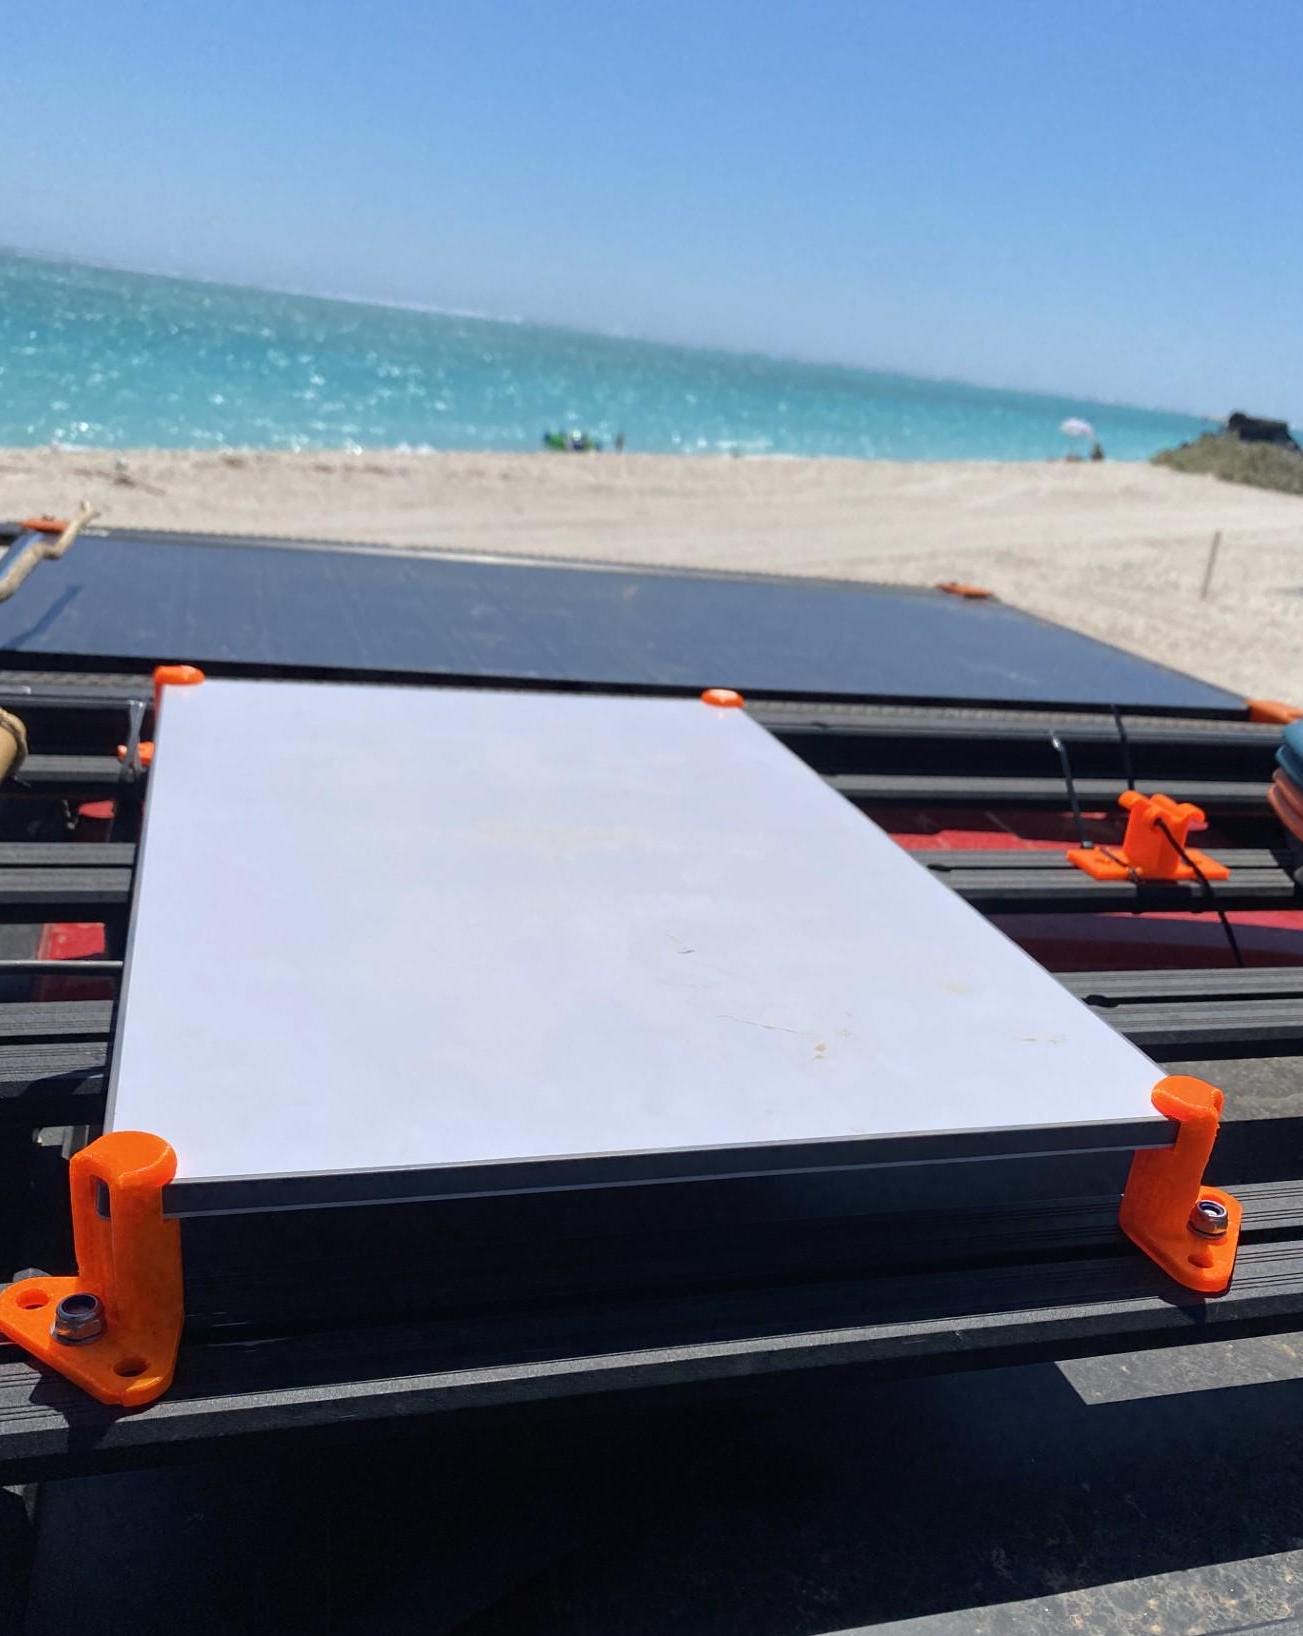
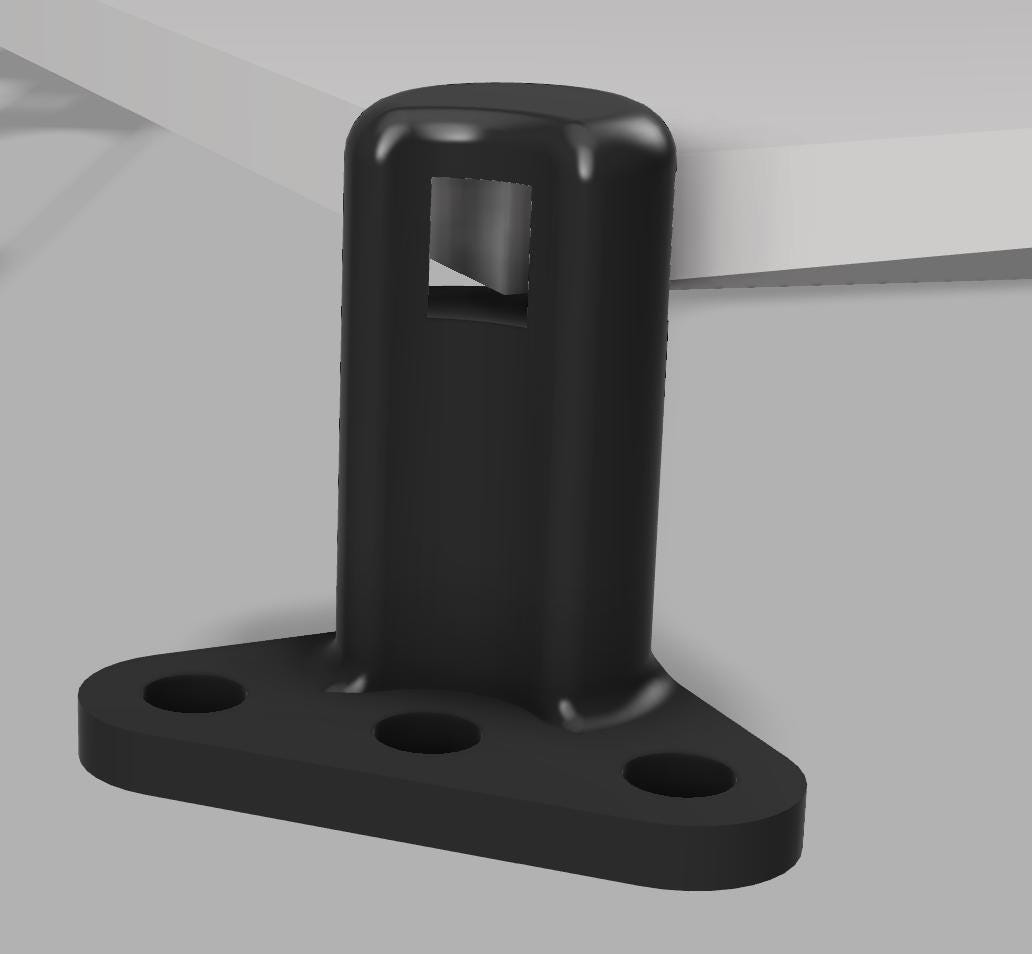
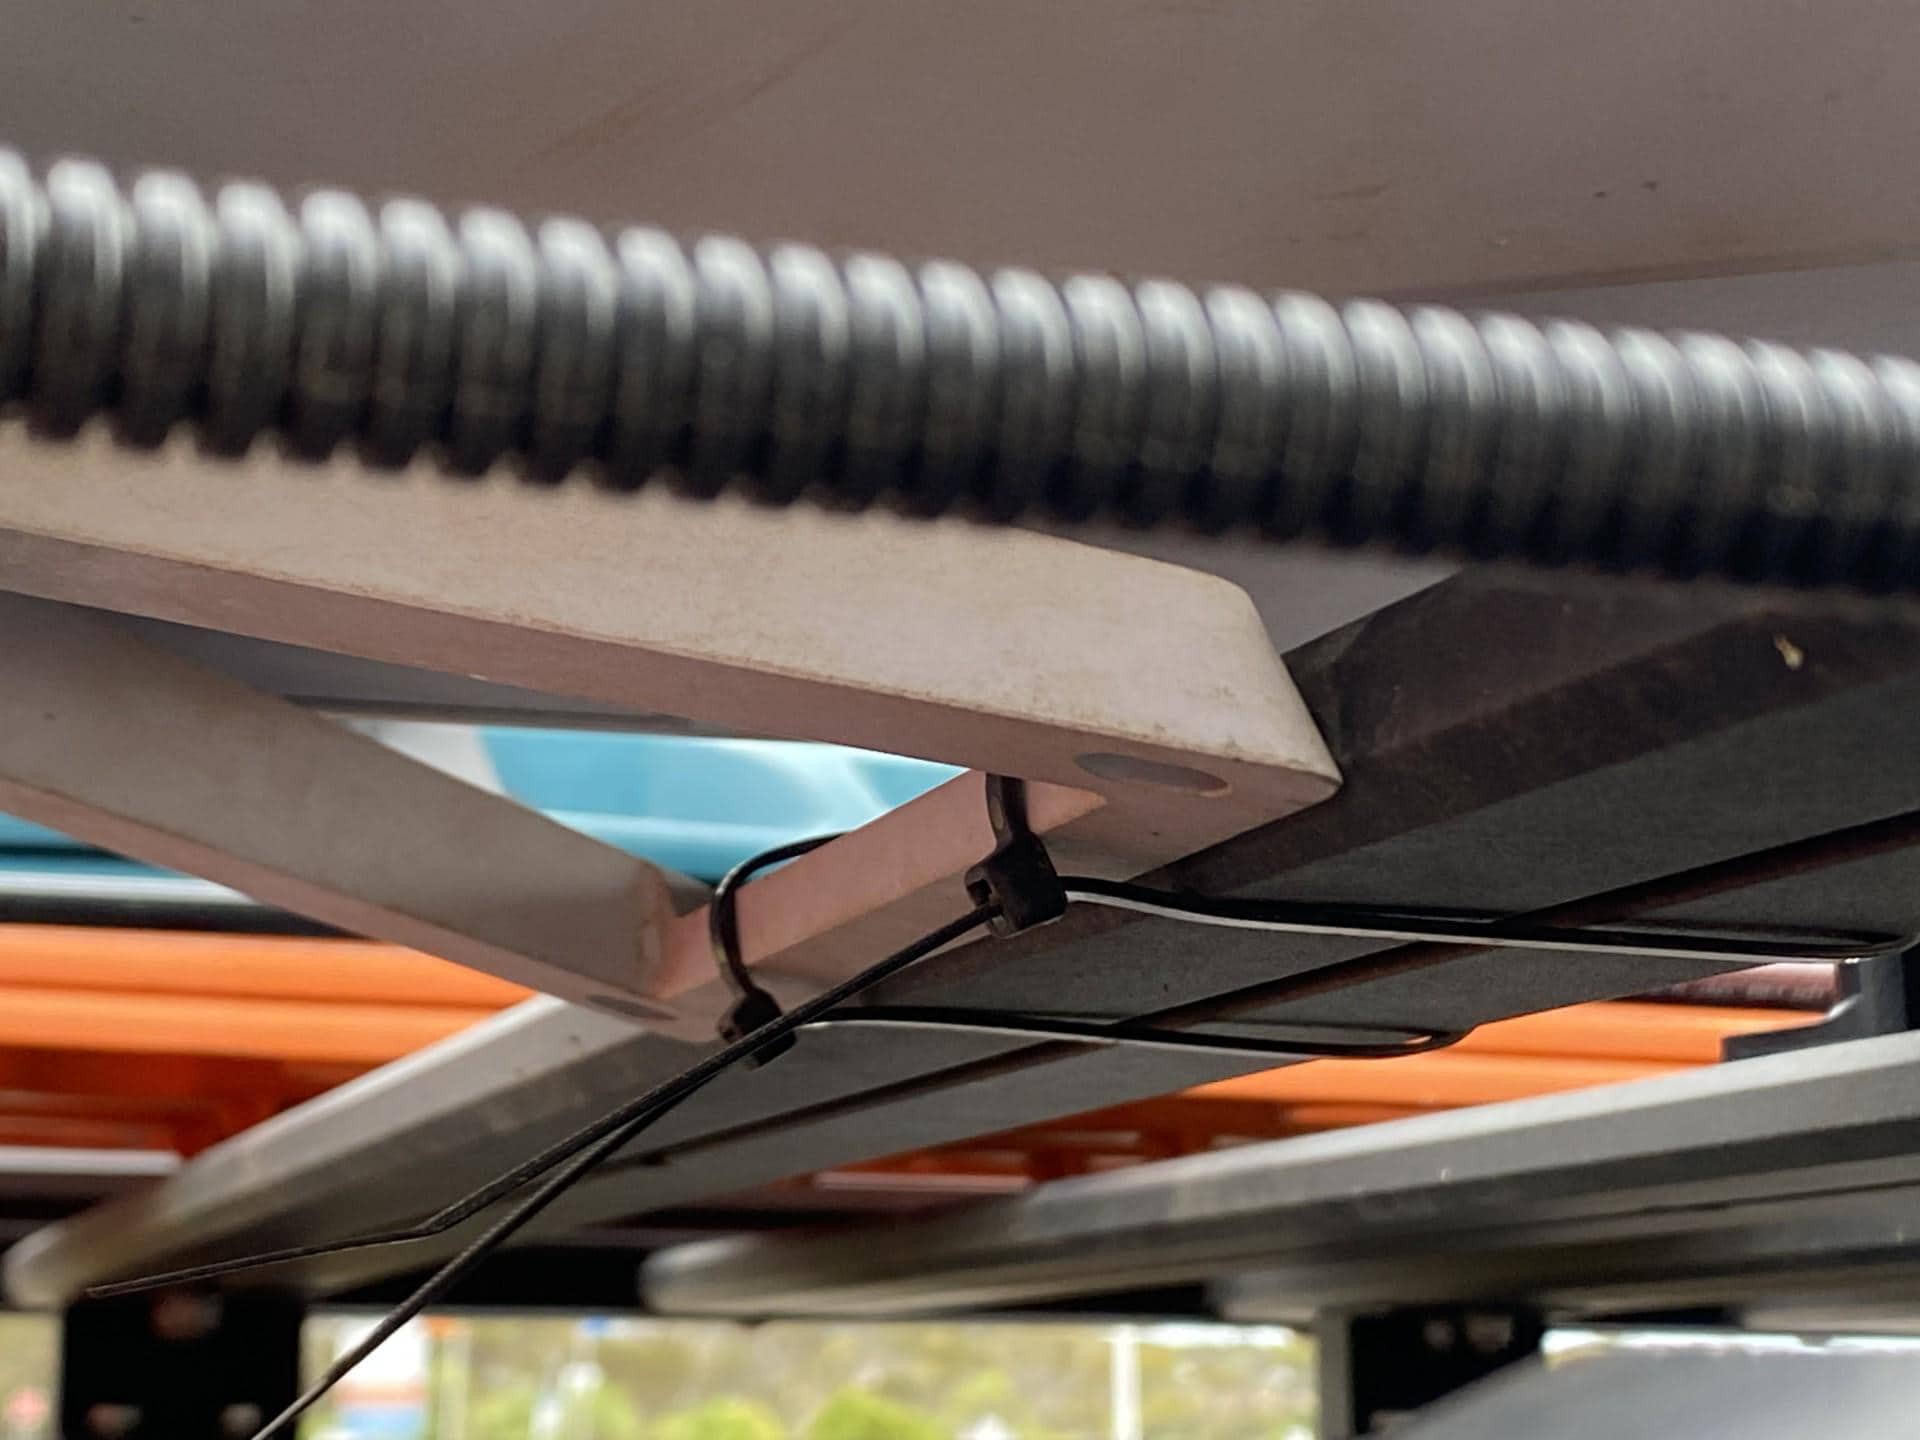
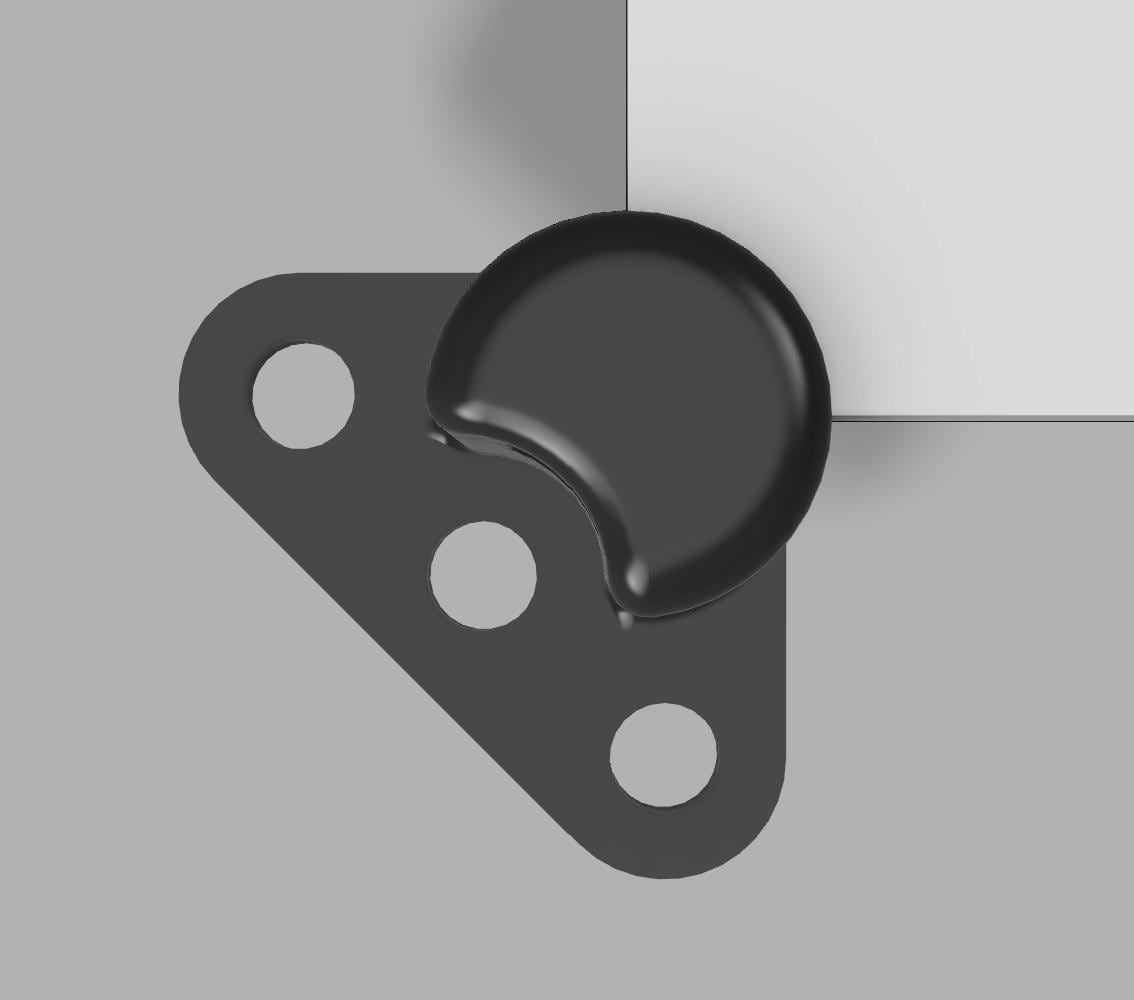
-Precision made for a perfect fit to the corners or side of the satellite dish.
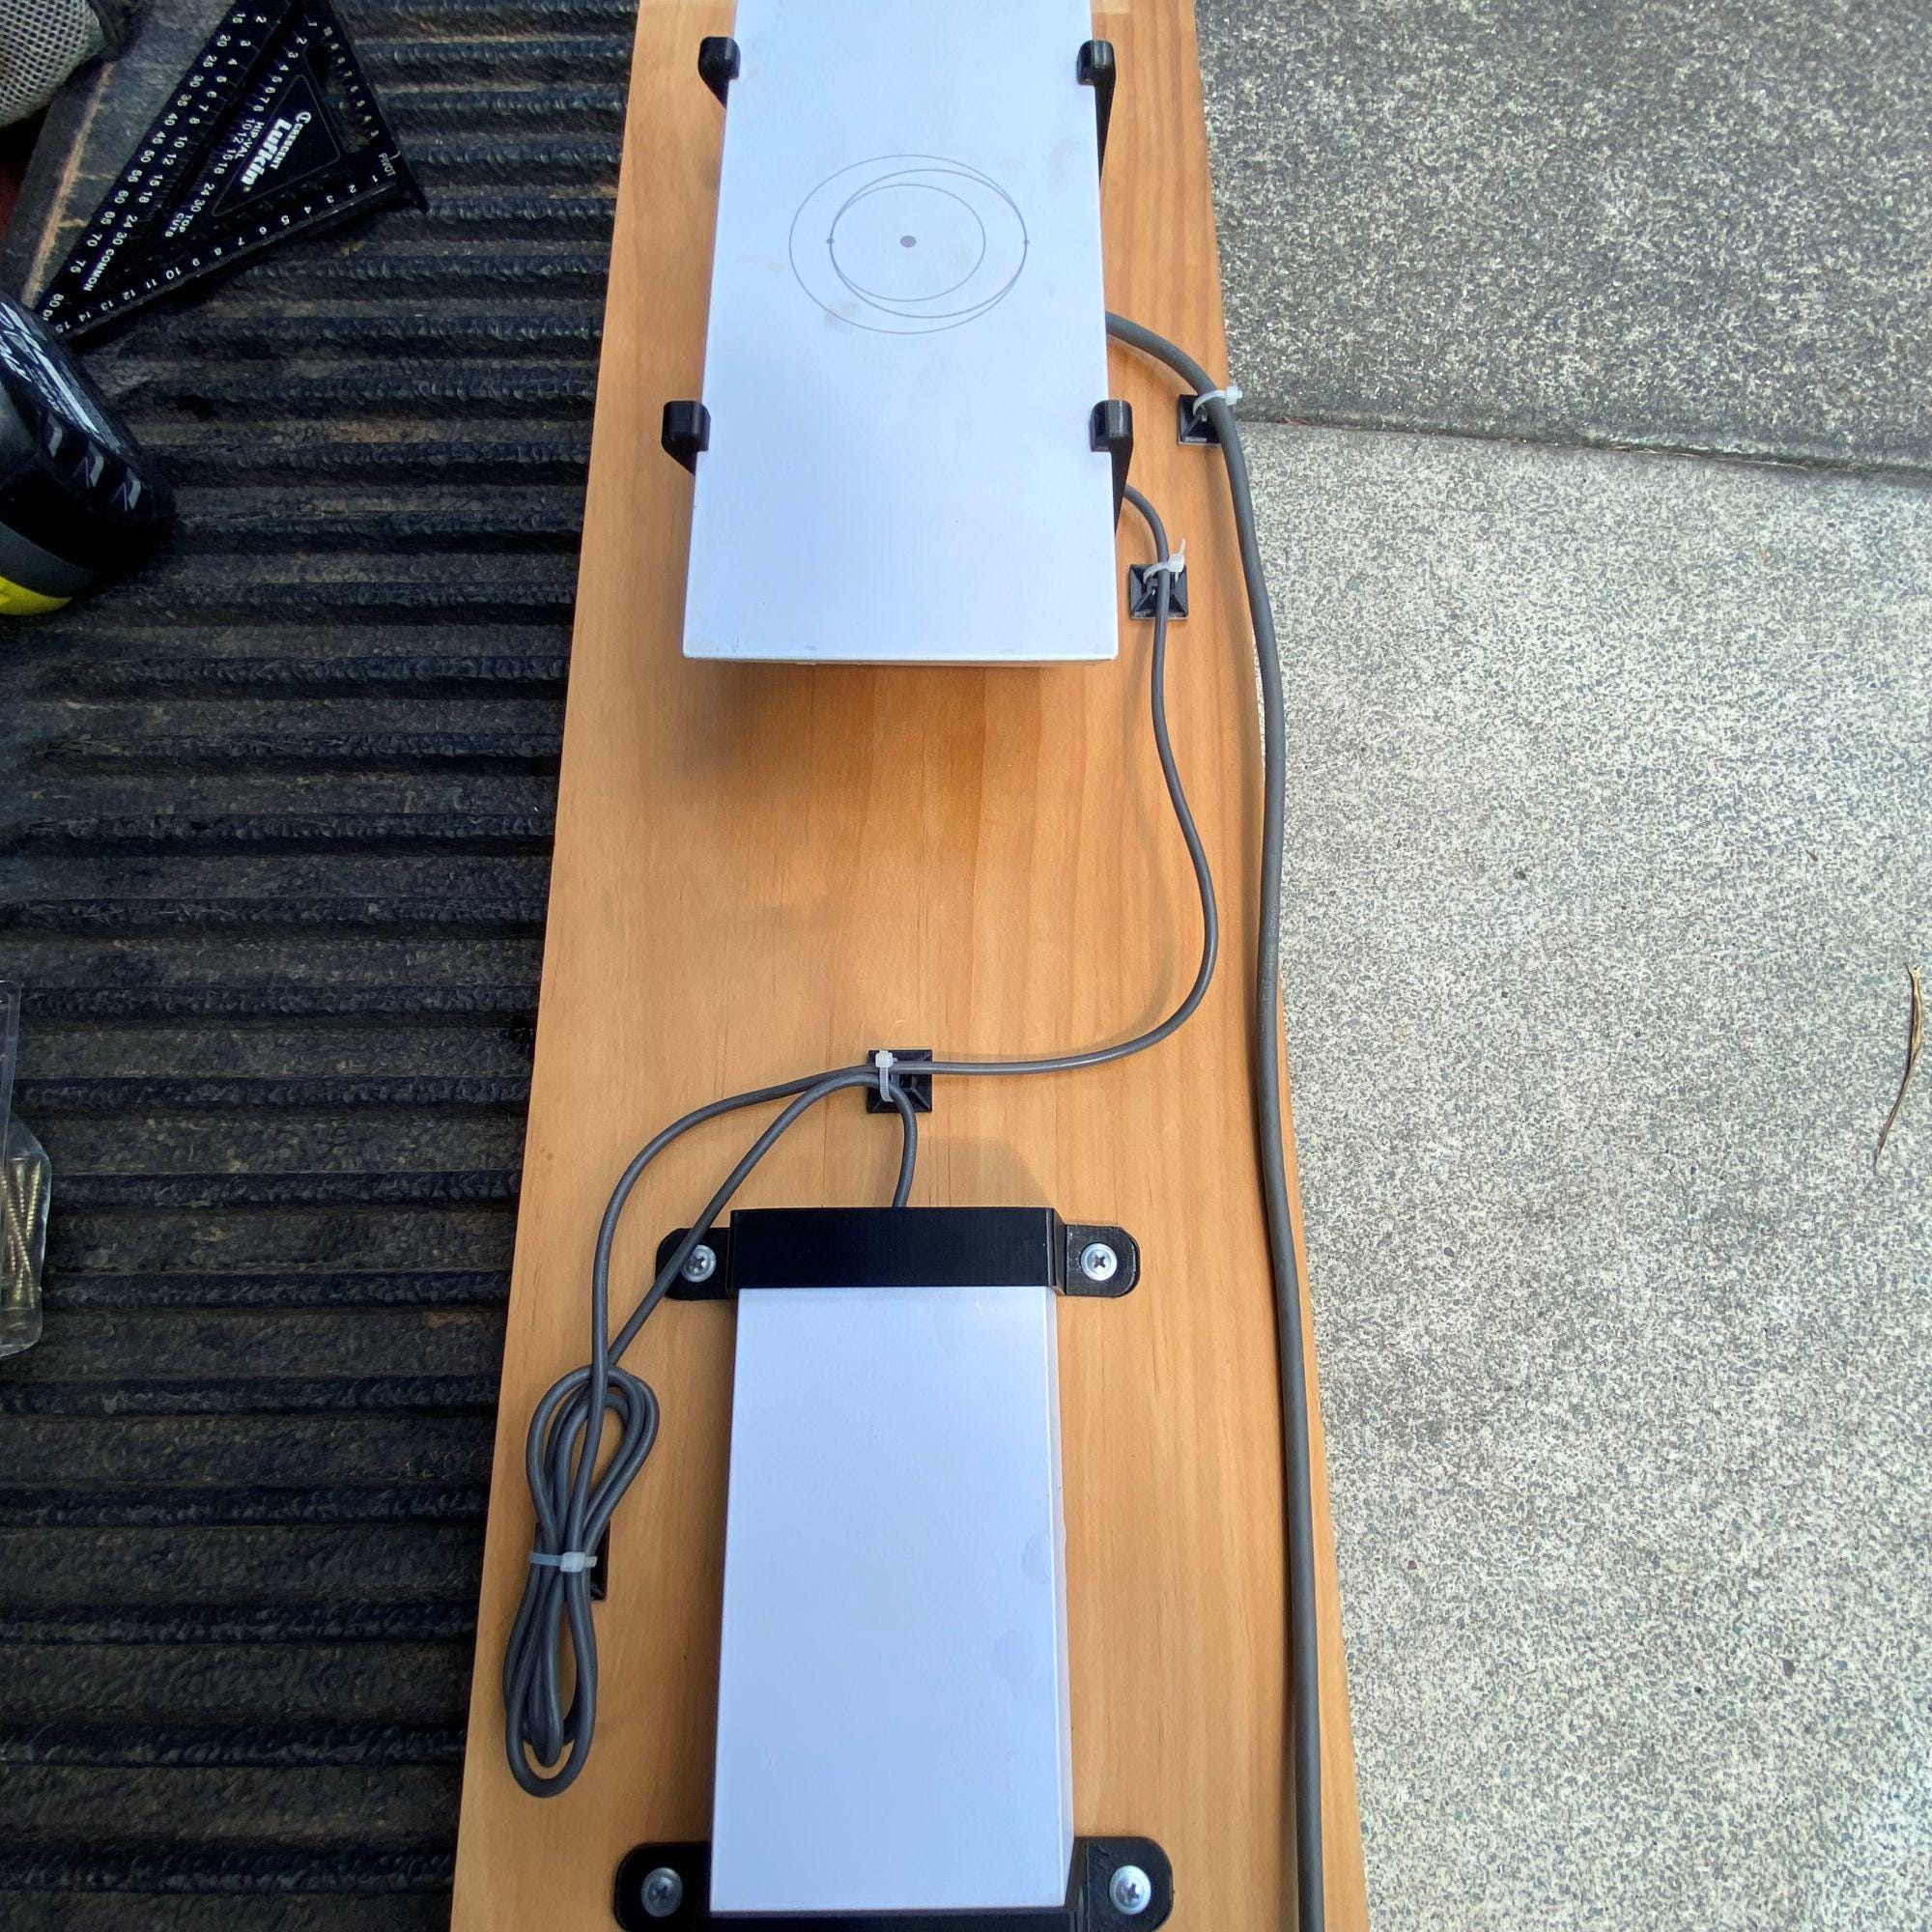
-Mounting brackets for the power supply and wifi router too (not required for the mini)
-Flat mounting on roof for better aerodynamics
-Allows roaming internet, mount the power supply and wi-fi router for operation while driving.
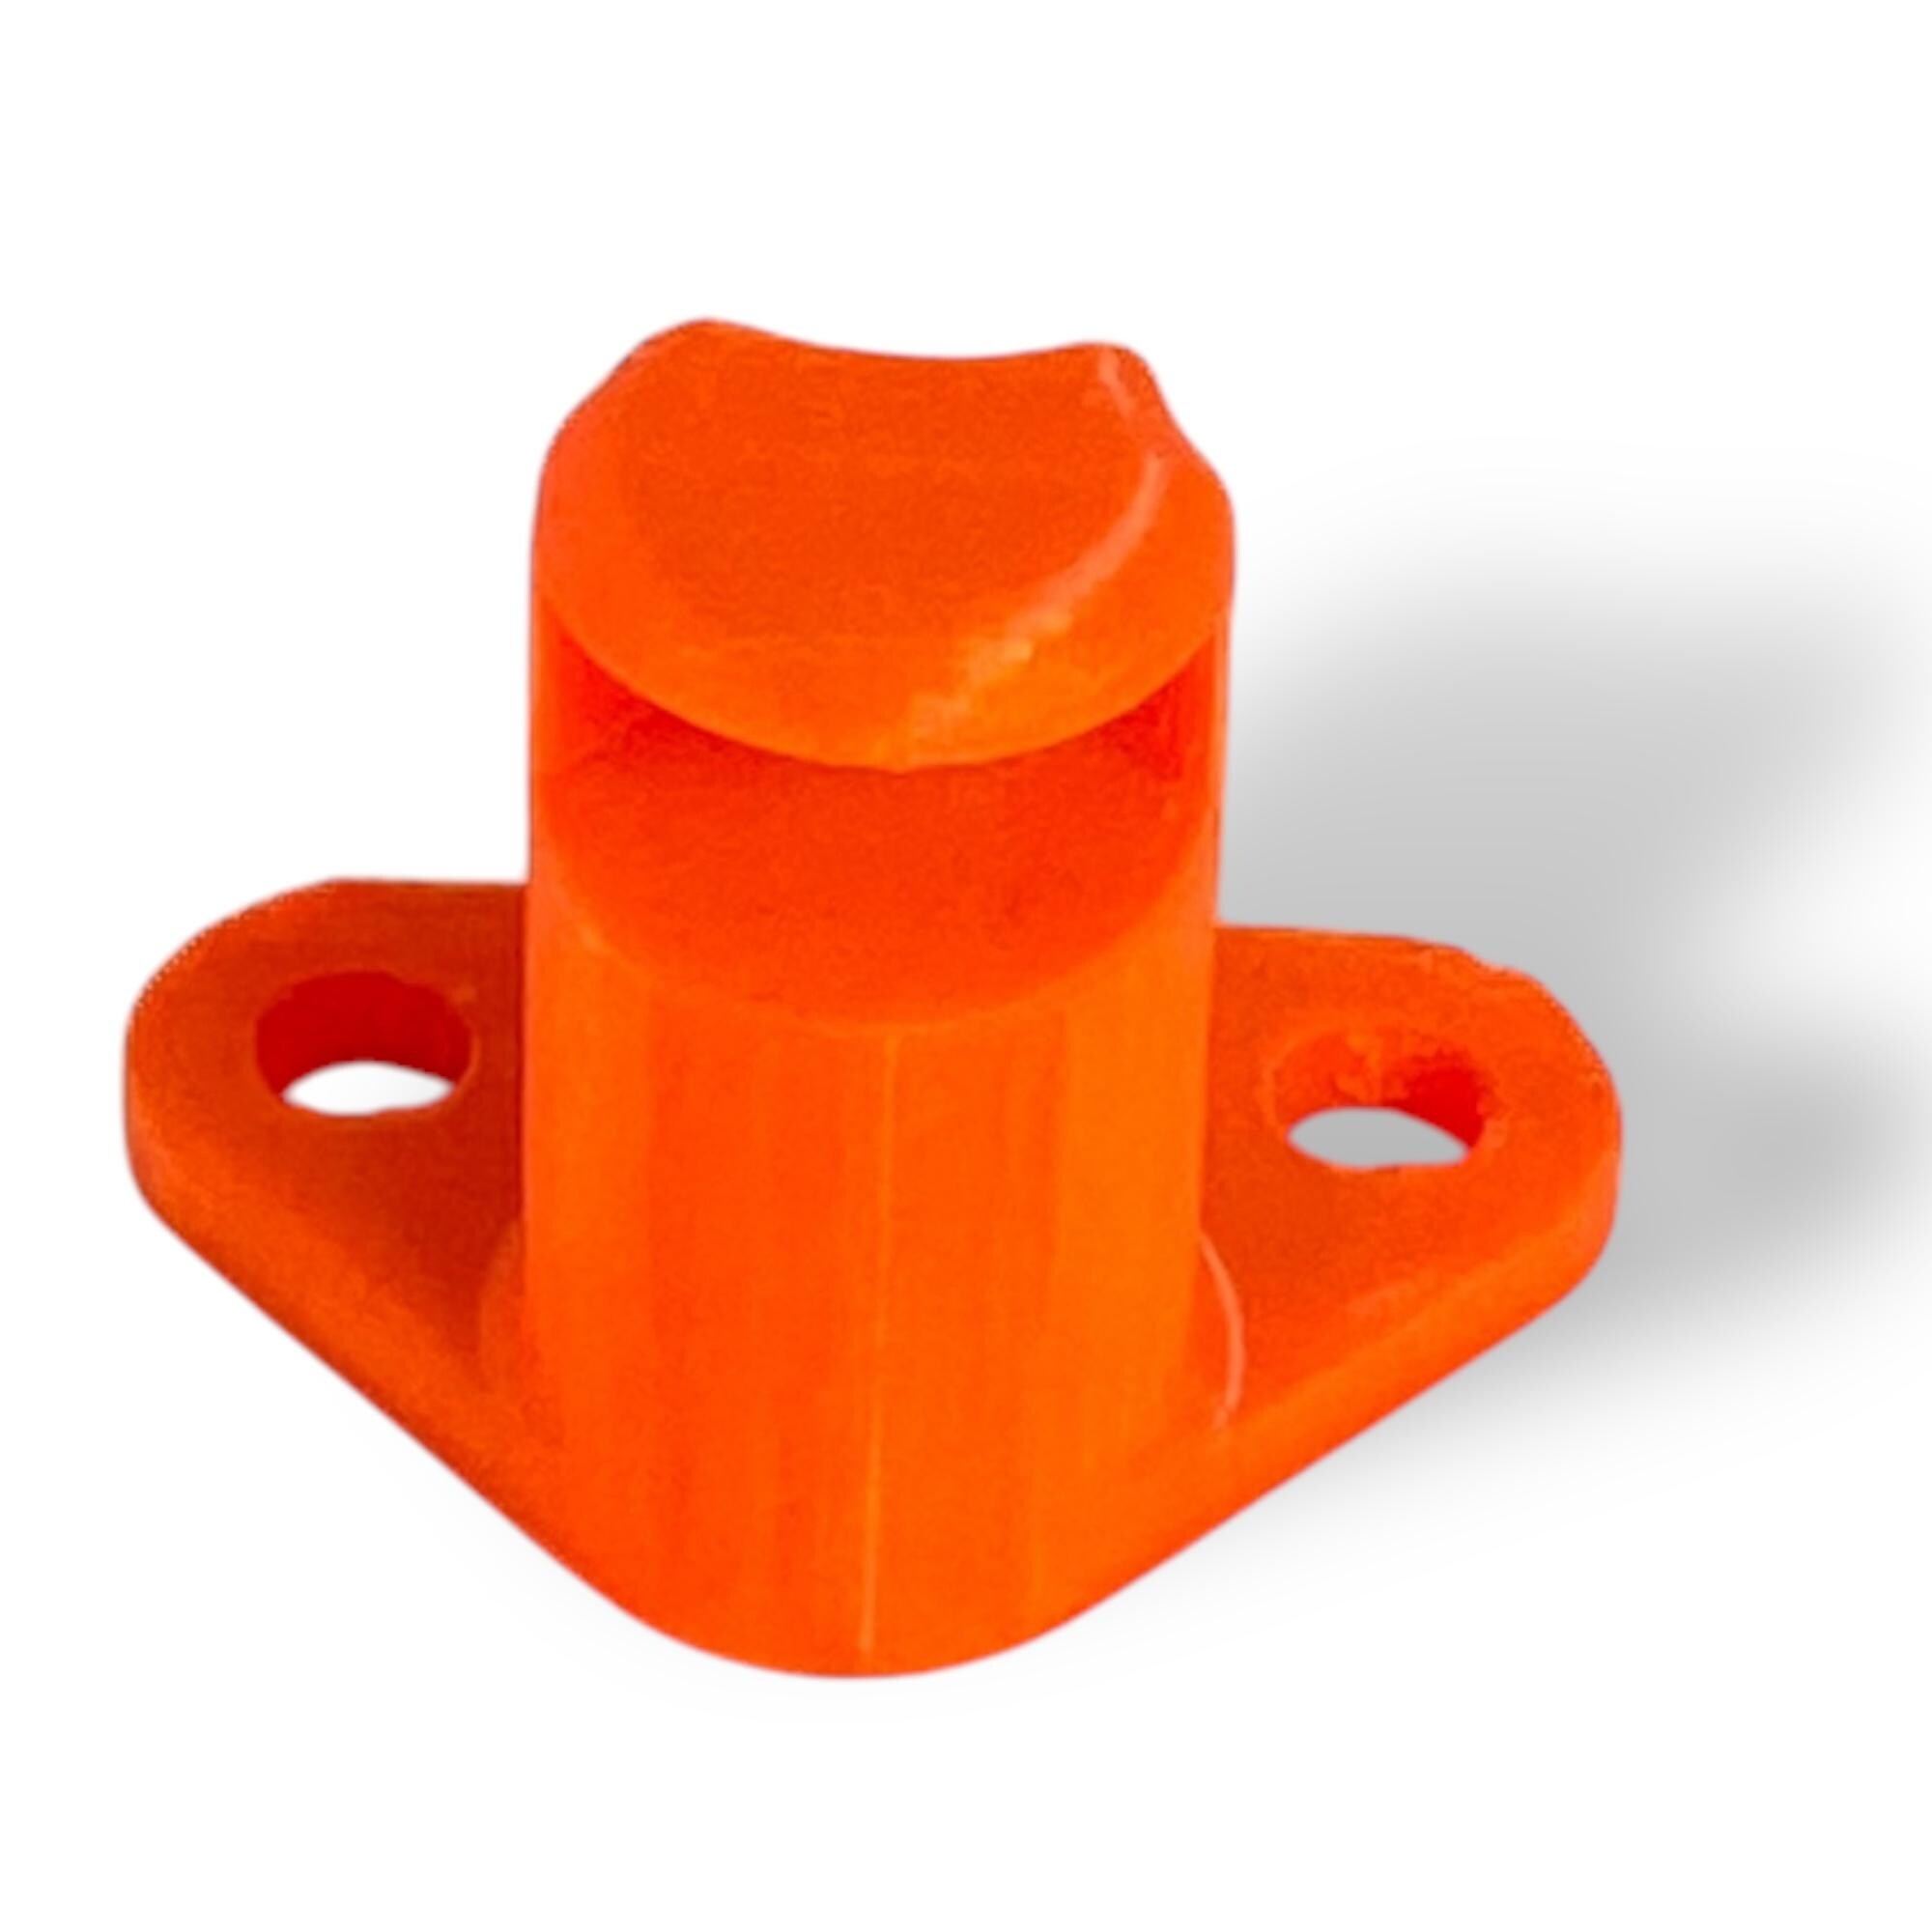
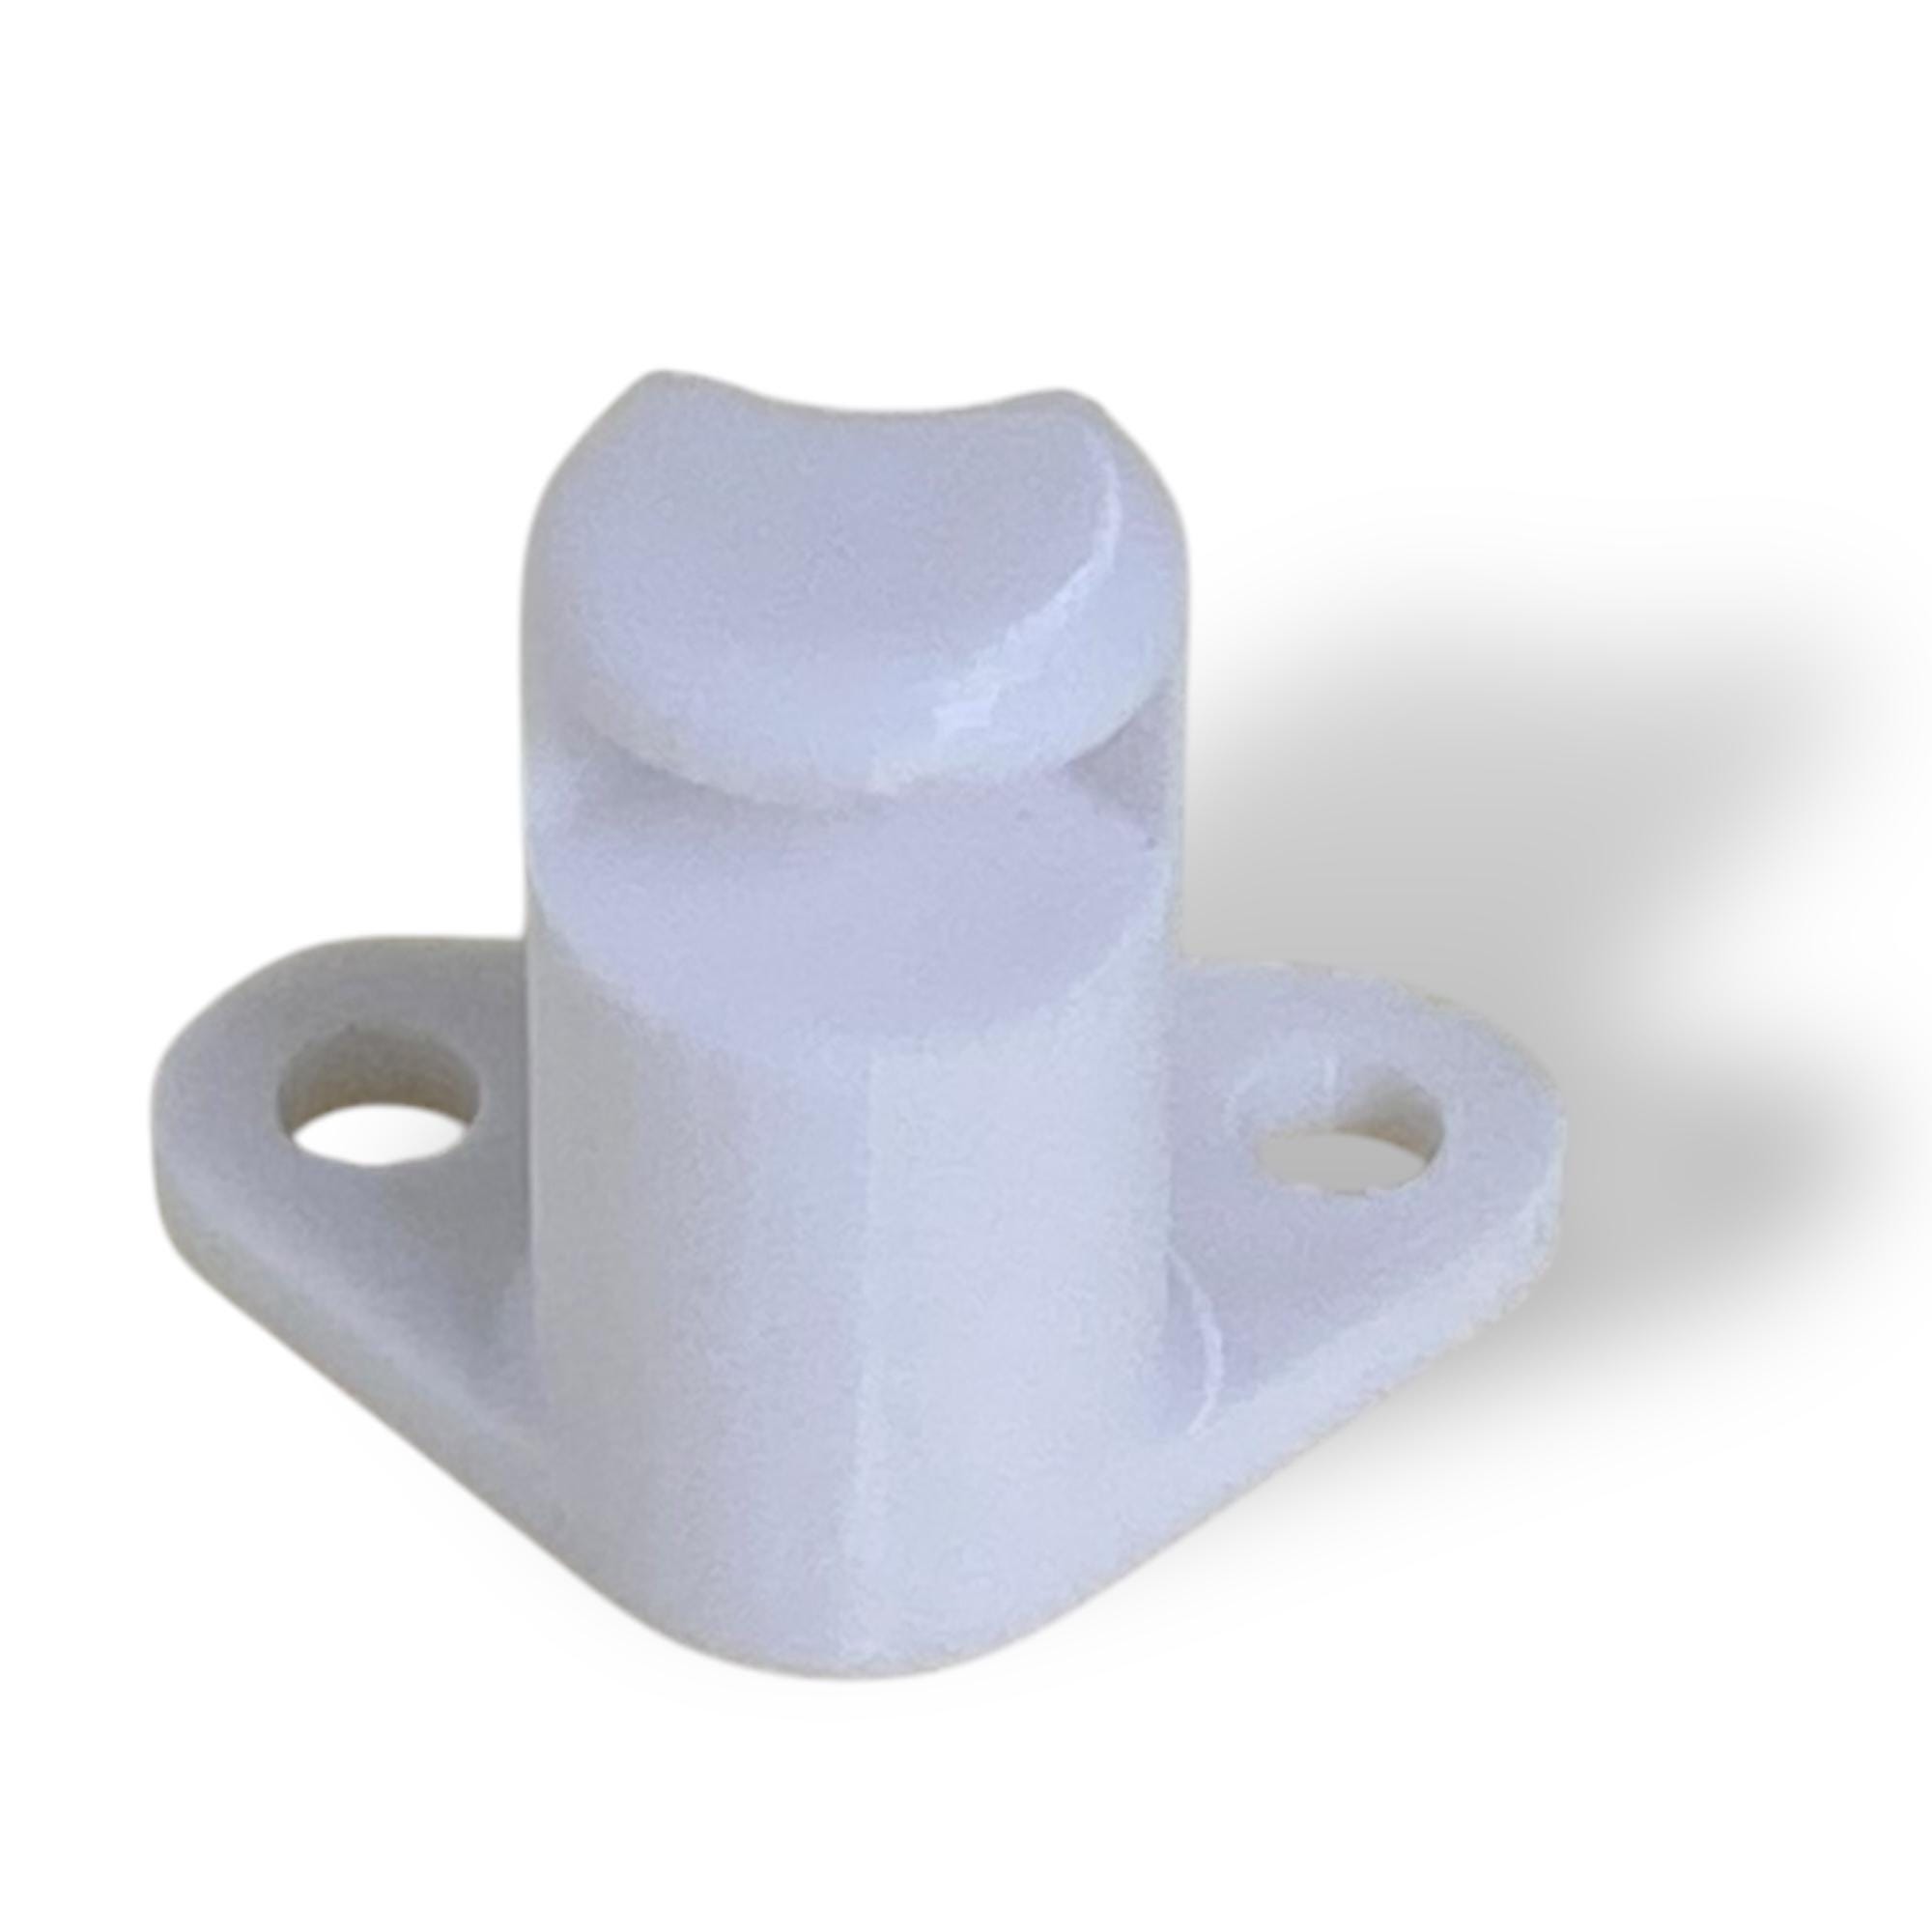
-PETG material is very strong, light weight and UV stable.
-Easy Installation: Designed for simple installation with basic tools.
-Australian made and road tested to resist harsh conditions
-Easy to release if you need to quickly take it off your vehicle to avoid an overhead obstruction, just remove one corner and it will slide out.
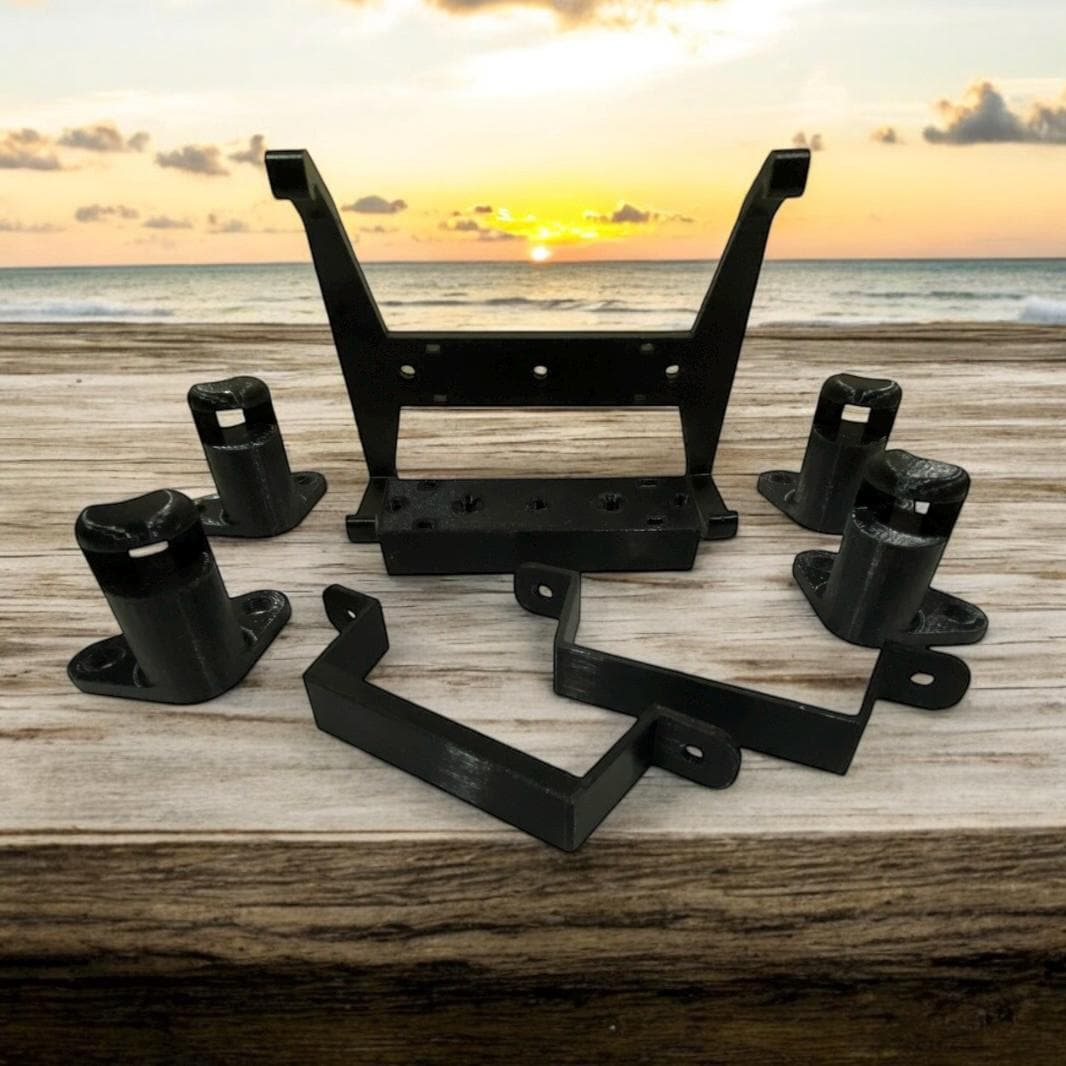
What’s Included:
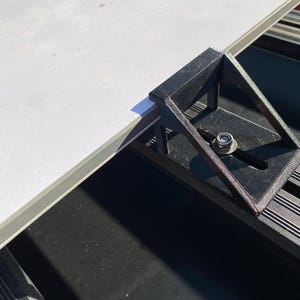
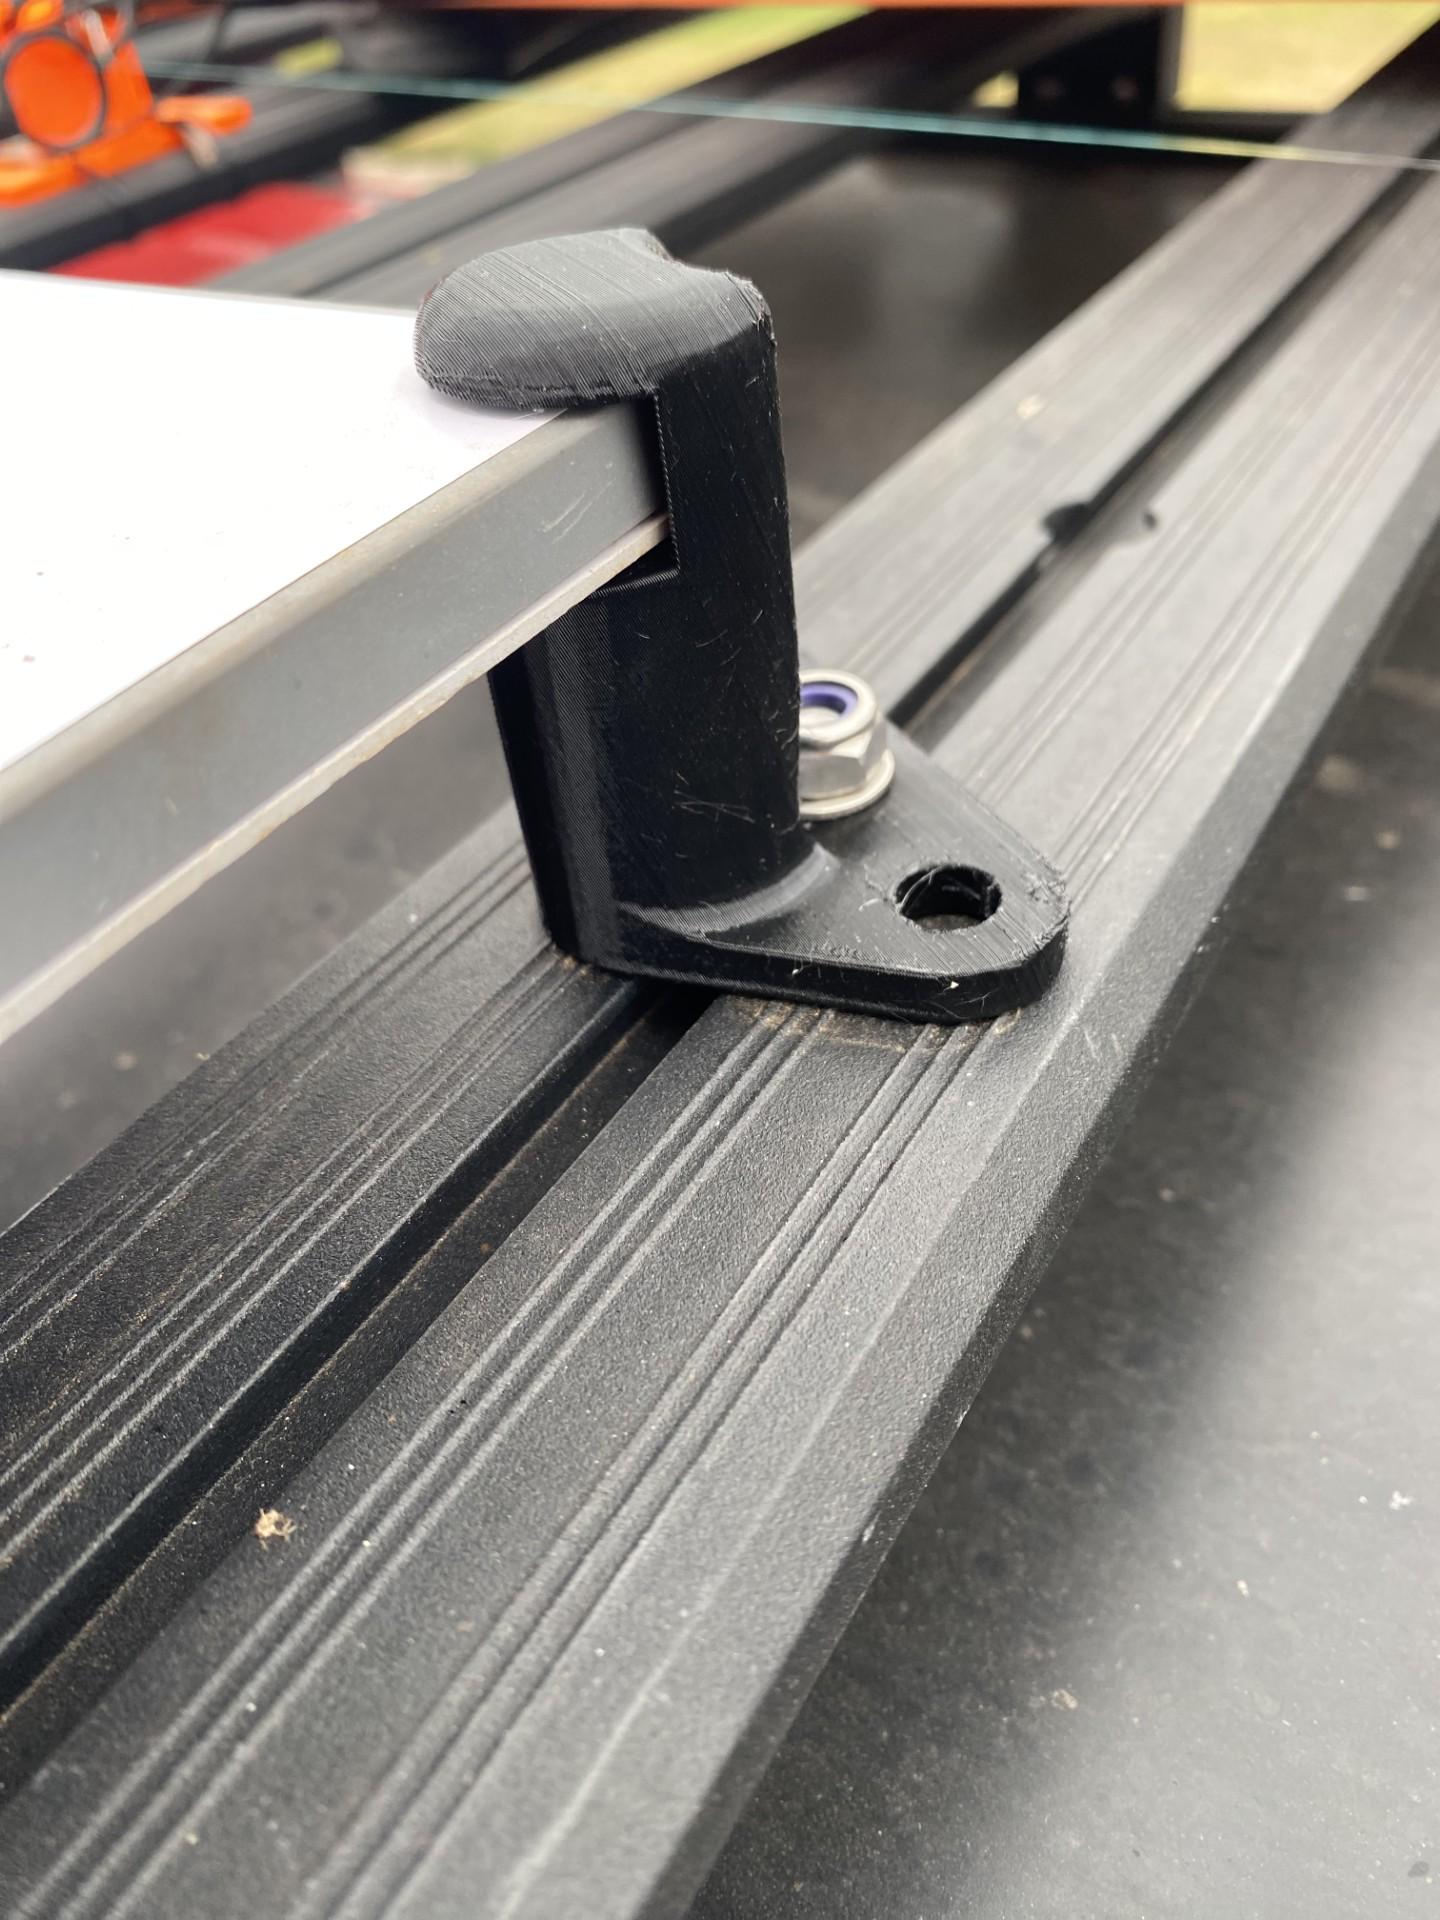
Dish mounts only = 4 x 3D-Printed Mounts: One mount per corner or side to secure dish (mini or Gen 3).
Power Supply Brackets = 2 x brackets with 6mm mounting holes (not required for mini). Hardware, nuts bolts, screws etc not included.
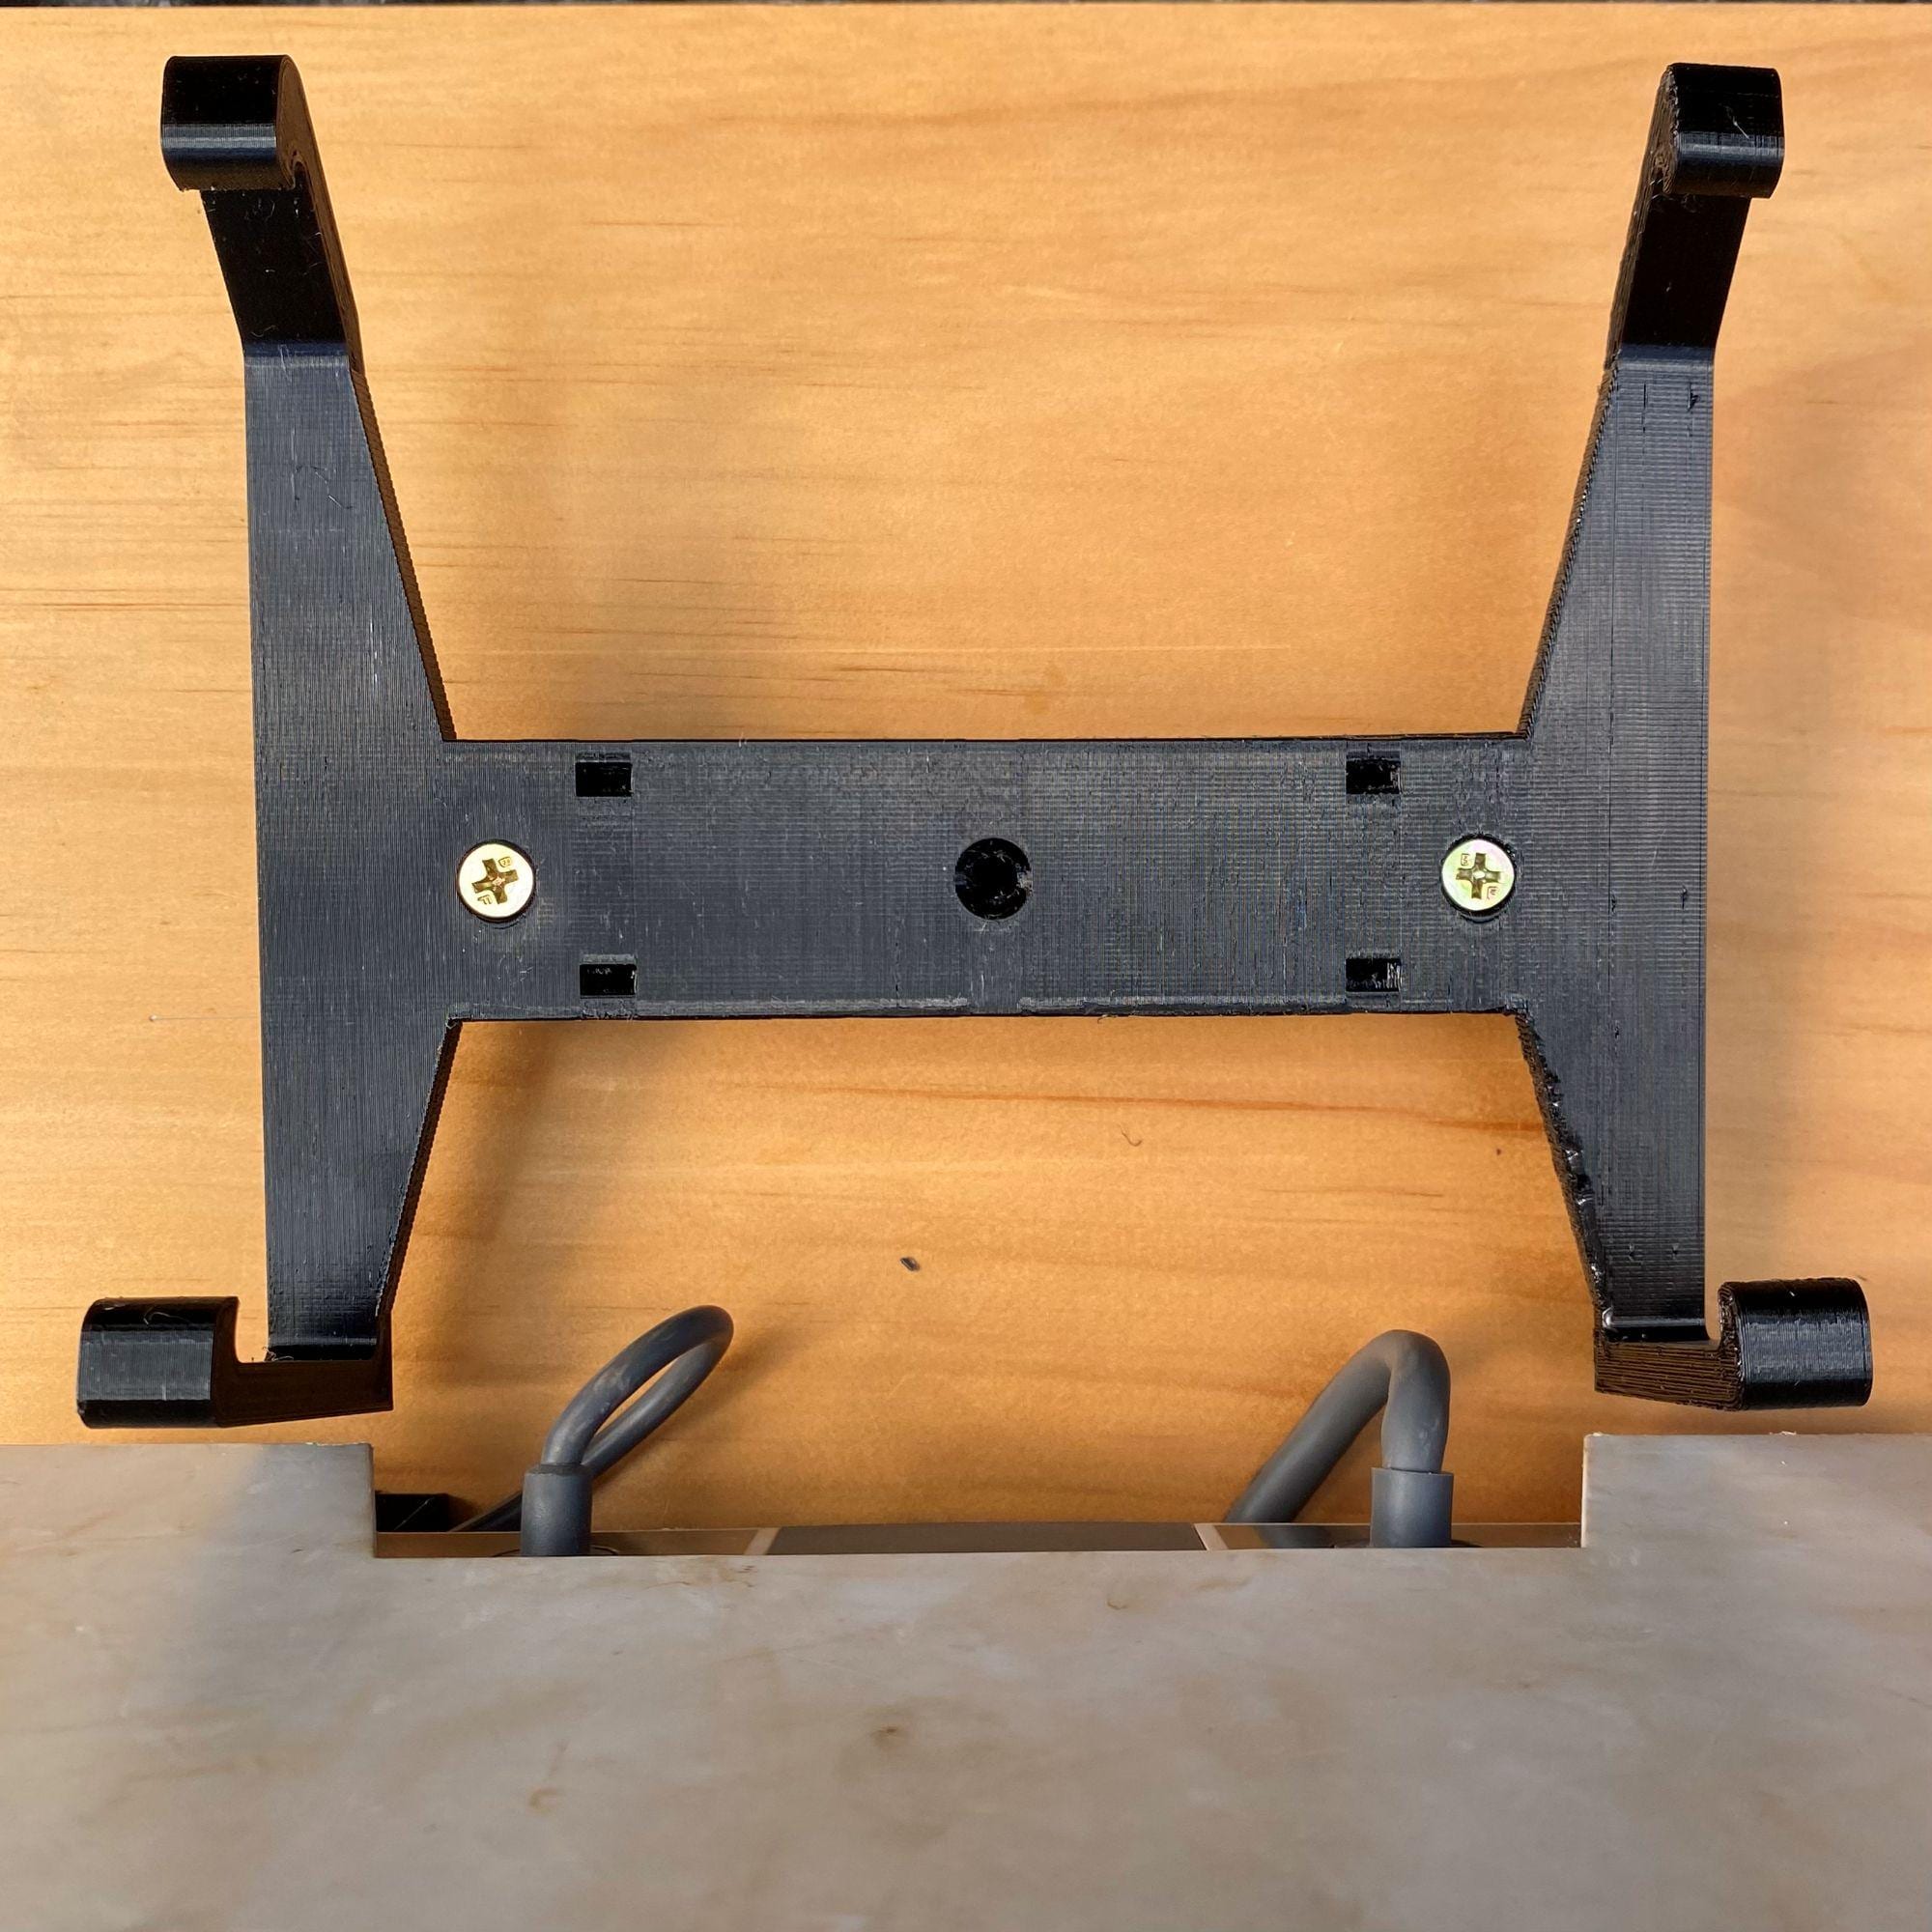
Wi-Fi Router Mount = mounting block + router clip with 6mm mounting holes (not required for mini). Hardware, nuts bolts, screws etc not included. Mounting block is designed to give clearance for the cables exiting the router.
What You’ll Need
Hardware: 8mm bolts for the satellite dish mount, quantity will vary depending on installation method. Each mount has 3 x 8mm holes. We recommend using washers and locking nuts. Important note - do not over tighten, this may damage mounts. The mounts are not solid infill to save weight. Washers, and locking nuts (not included).
Tools: Adjustable pliers, socket set and hand tools.
Installation of Wi-Fi router bracket - place mounting block in desired location, use the two counter sunk holes to secure to the surface, place the router clip bracket on the mounting block, use the three countersunk holes to secure the clip through the mounting block. Place router in base first then clip into place on the top sharper edge. Take care not to force or damage the clips. If intending on going on rough roads and heavy off road driving, use additional cable ties to secure the router and prevent slipping side to side.
We recommend in addition to our mounts to have some:
- Zip ties, are recommended for security the base mount to roof rack
- Physical cable protection should be used for data and power cables
Note: This product is a DIY kit, and assembly is required.
Please ensure you have all necessary materials and tools for installation.
Warranty Details:
This 3D-printed equipment mounting blocks comes with a 2-year warranty from the date of purchase, covering defects in material and workmanship under normal use. It is designed to securely hold equipment as specified, with reasonable durability for a $100 product in the Australian market. The warranty does not cover damage due to misuse, improper installation, or external factors like excessive force or environmental wear. If a defect arises, we’ll repair or replace the part at our discretion, provided proof of purchase is supplied.
Note: This product is not affiliated with Starlink or SpaceX and is a third-party accessory designed for compatibility with Starlink equipment.